It took me a long time to feel comfortable with my decisions on what tools and materials to use to make this comic, as nothing felt ‘professional’ enough. I get trapped in this mindset so much, so I want to take a moment to celebrate getting past this mental block, and reflect on the creative decisions I did make, and that were successful.
Here is my biggest take away from this experience: You must say “fuck it, that’ll do” over and over and over again.
I have been through many different phases of drawing styles and interests, and despaired so many times that I don’t have a consistent style. Having put the effort into finally making my first multi-page comic, I feel a bit less neurotic about this. Developing a process was not easy and I felt truly lost for such a long time. Talking with other people about this was helpful, and in the end, the only solution was to push through and see what I could produce.
Materials
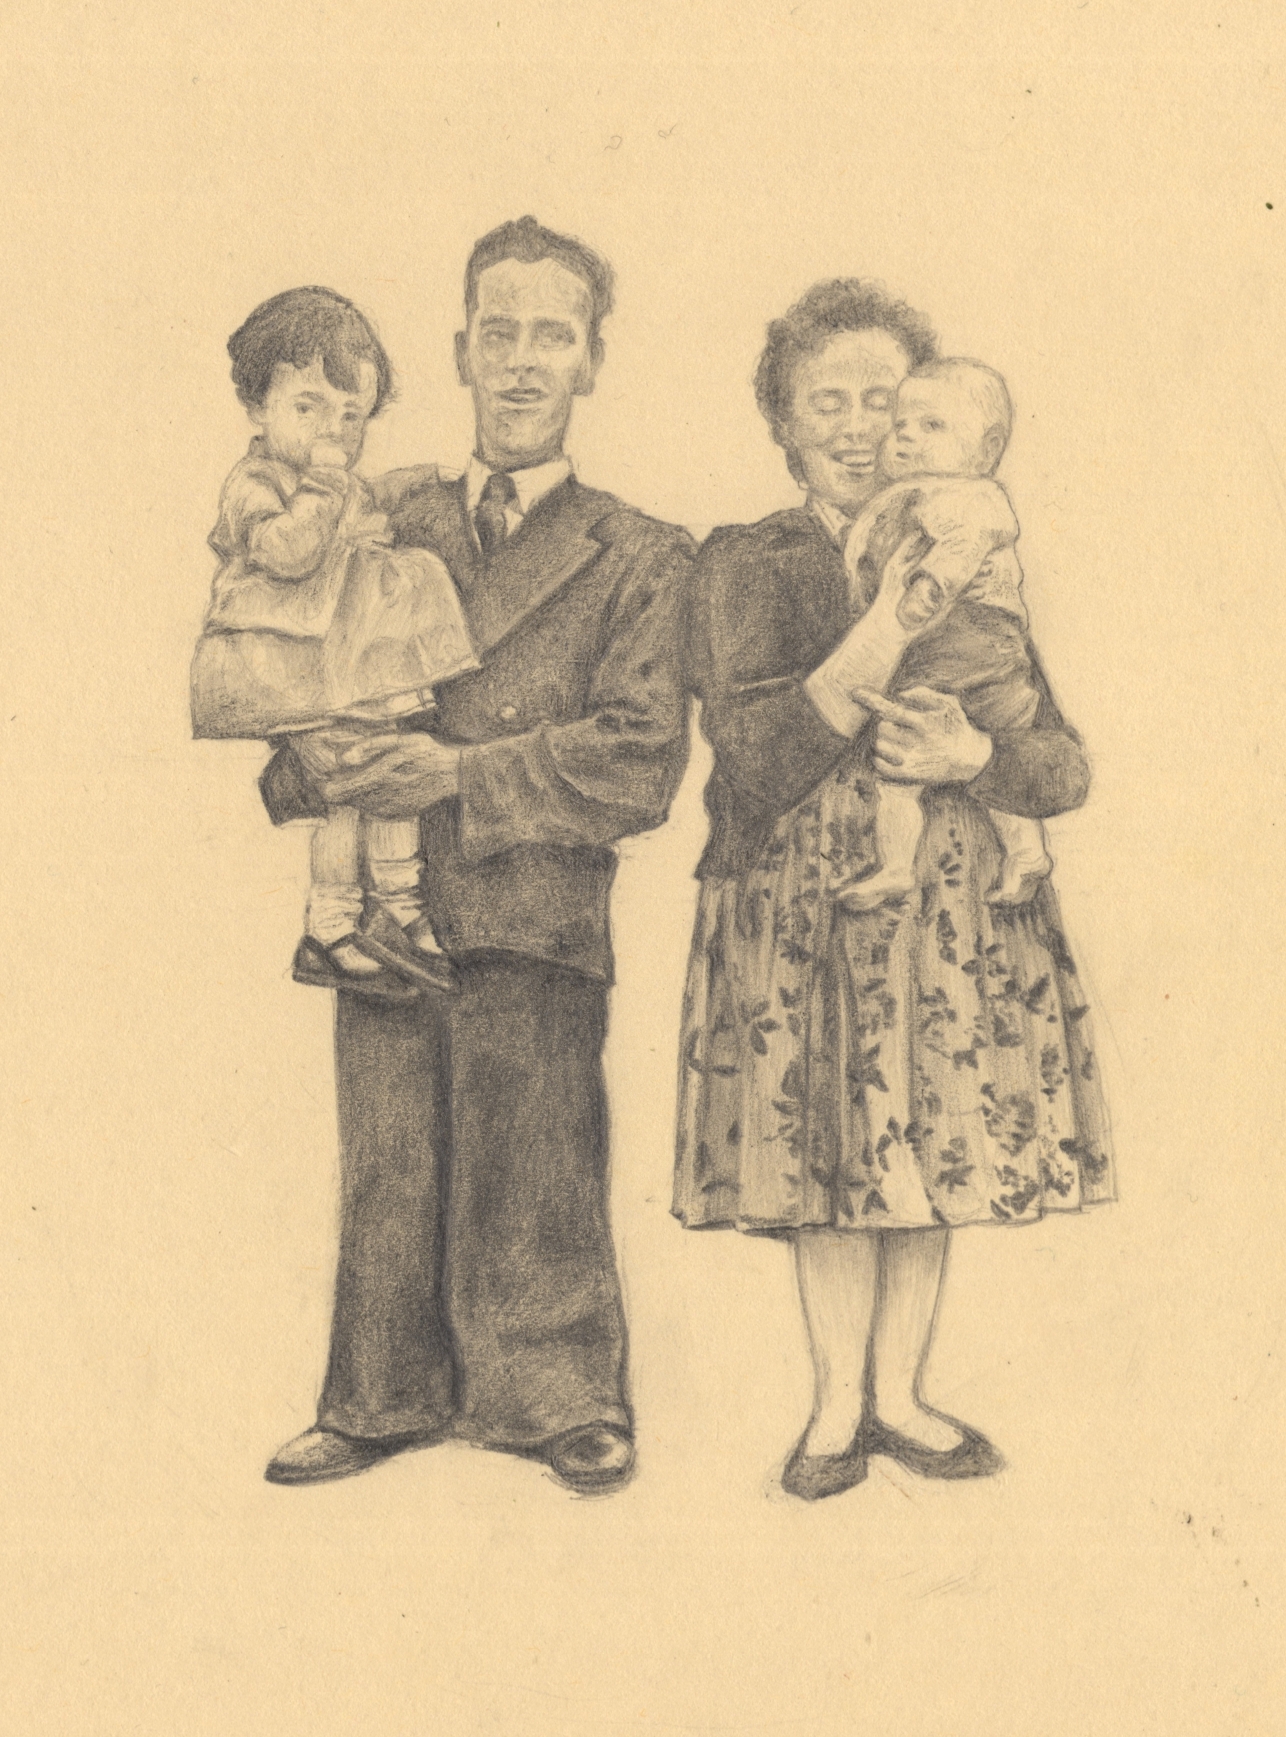
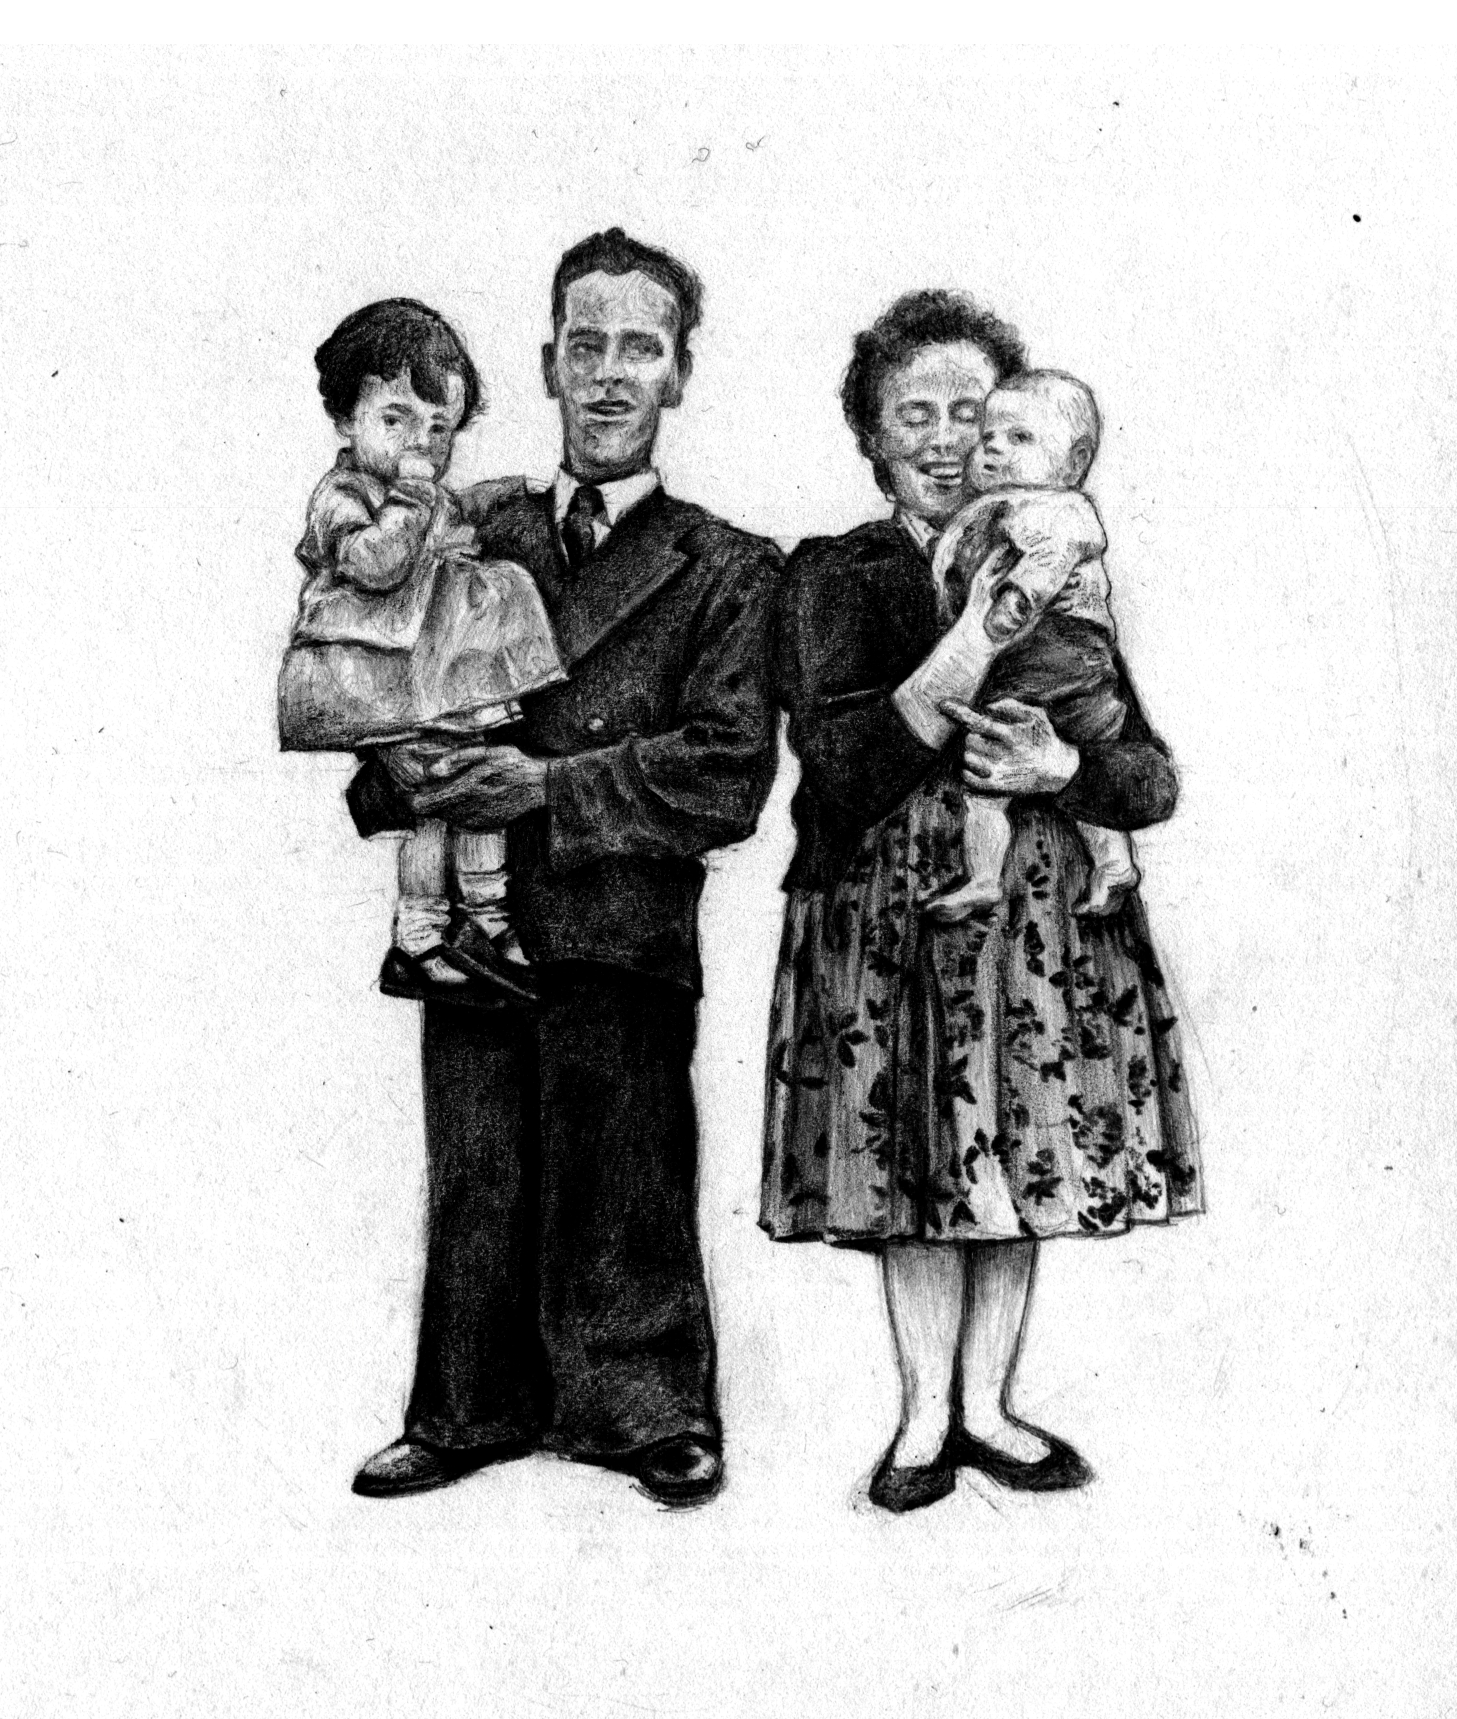
Deciding to draw in pencil felt like a big relief. I struggled so much with inking – fineliners were too fine, too straight; I couldn’t find an inking brush that I liked for this subject matter; and every time I tried to create shadow or texture it just looked like shit. I’ve had these bullshit ideas in my head about what is ‘cheating’ in making art as well. Like if the IRL physical piece of work doesn’t look that great, but when I’ve upped the contrast and all that after scanning in, I’ve somehow cheated and it isn’t really truly good. I had this experience with a pencil drawing I made of my grandparents, which I posted to instagram and used the filters to hugely up the contrast. It makes it a much stronger image! That’s all that matters! But I felt weird about it for a long while…
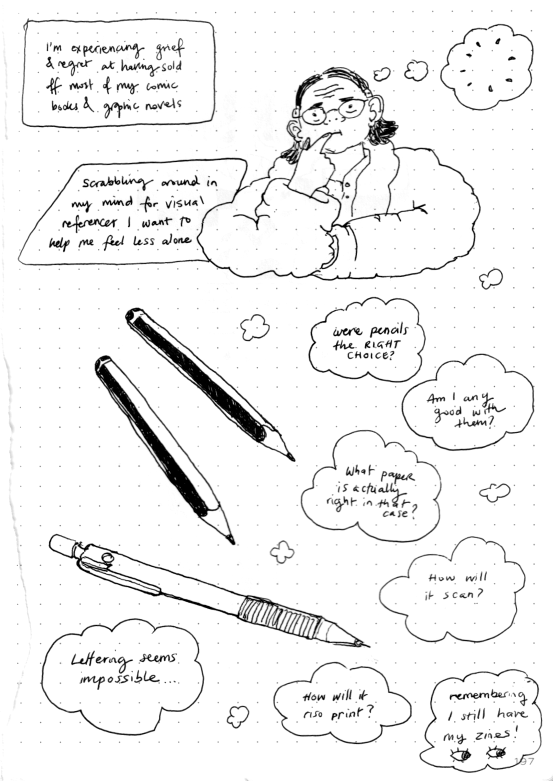
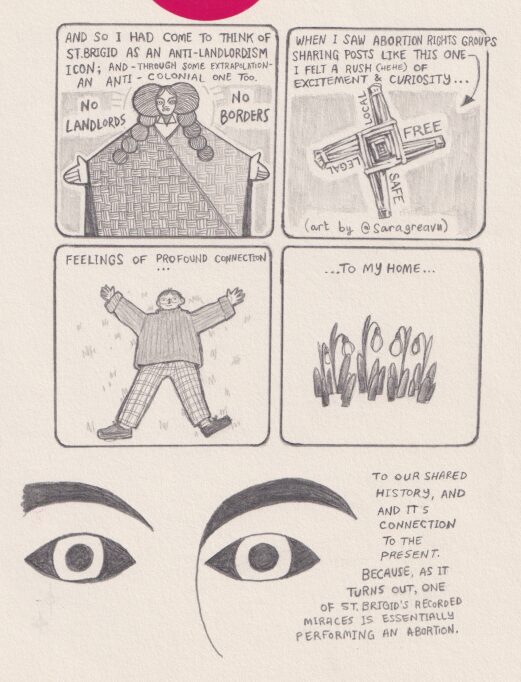
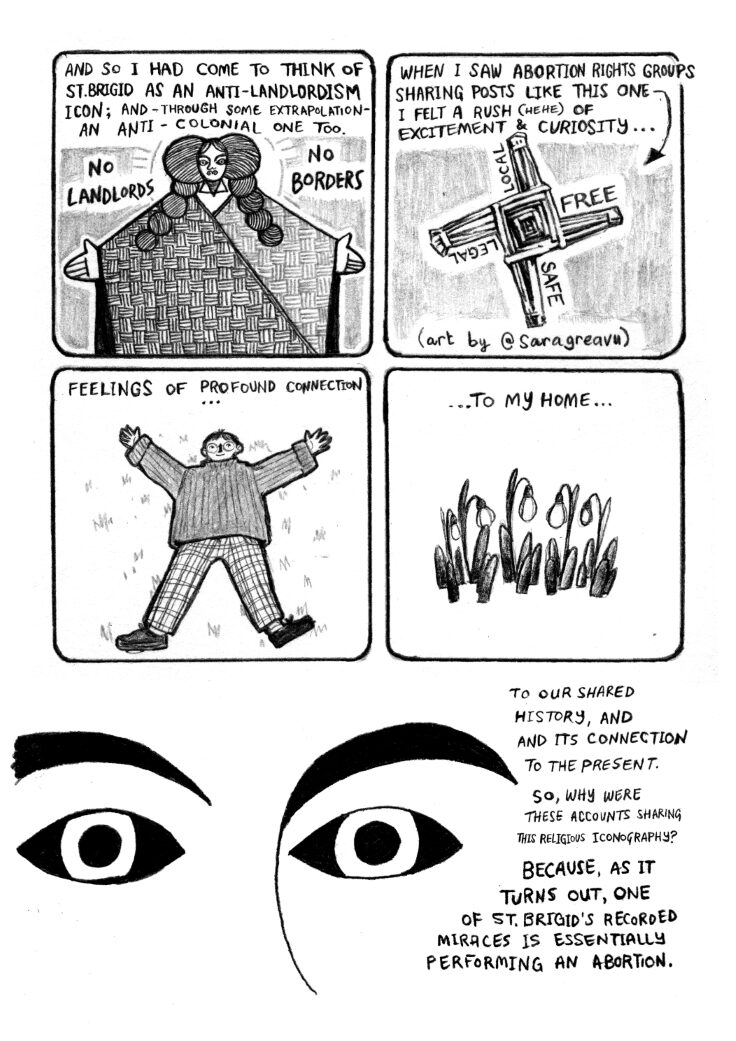
Look I even made a little comic about being insecure of my choice of using pencils!
I used:
a Staedtler 0.3mm mars micro with 2B lead (lead variations are now discontinued at this fine size! tragic!)
free pencil I got from LAU’s table at Thought Bubble – a really nice dark lead but I don’t know what it was!!! Frustrating as the pencil is now LOST.
2H simple normal Staedtler for sketching
At some point I bought a really exciting new tool: Tombow Mono Zero retractable eraser 😮 so beautiful!
A nice stumpy little 4B pencil for filling in large and dark areas.
Paper choice was also quite important to me, as I like a fairly toothy grain, but not so textured that it catches the pencil lead and obscures fine details. I got a nice A3 wire bound sketchbook from the middle aisle at Aldi and I loved that sketchbook’s paper so much! However, I don’t know if I’ll ever be able to get the same paper again… The ephemeral beauty of the middle aisle… At the moment, I am fairly certain I’m going to be working digitally on the graphic novel, so fickle paper stocks shouldn’t be a problem.
Process
I knew about the sketch-then-trace-then-ink type of process and used this sort of flow for other projects plenty of times. But I’ve never been great at making a plan and sticking to it. Now I know that in a long form comic, generally speaking, there really are too many moving parts to freestyle very much. This was hard to get along with. I wanted to reduce the amount of decision making processes I had to make page-to-page or panel-to-panel as much as possible, as I know I get terrible decision paralysis and go cold. So I wanted to have as simple a layout as possible. I did some training many moons ago with Sharad Sharma of World Comics India, the point of which was to create the most straightforward and easy to understand comics (as a grassroots communication tool). I think this influenced the four panel standard I went with.
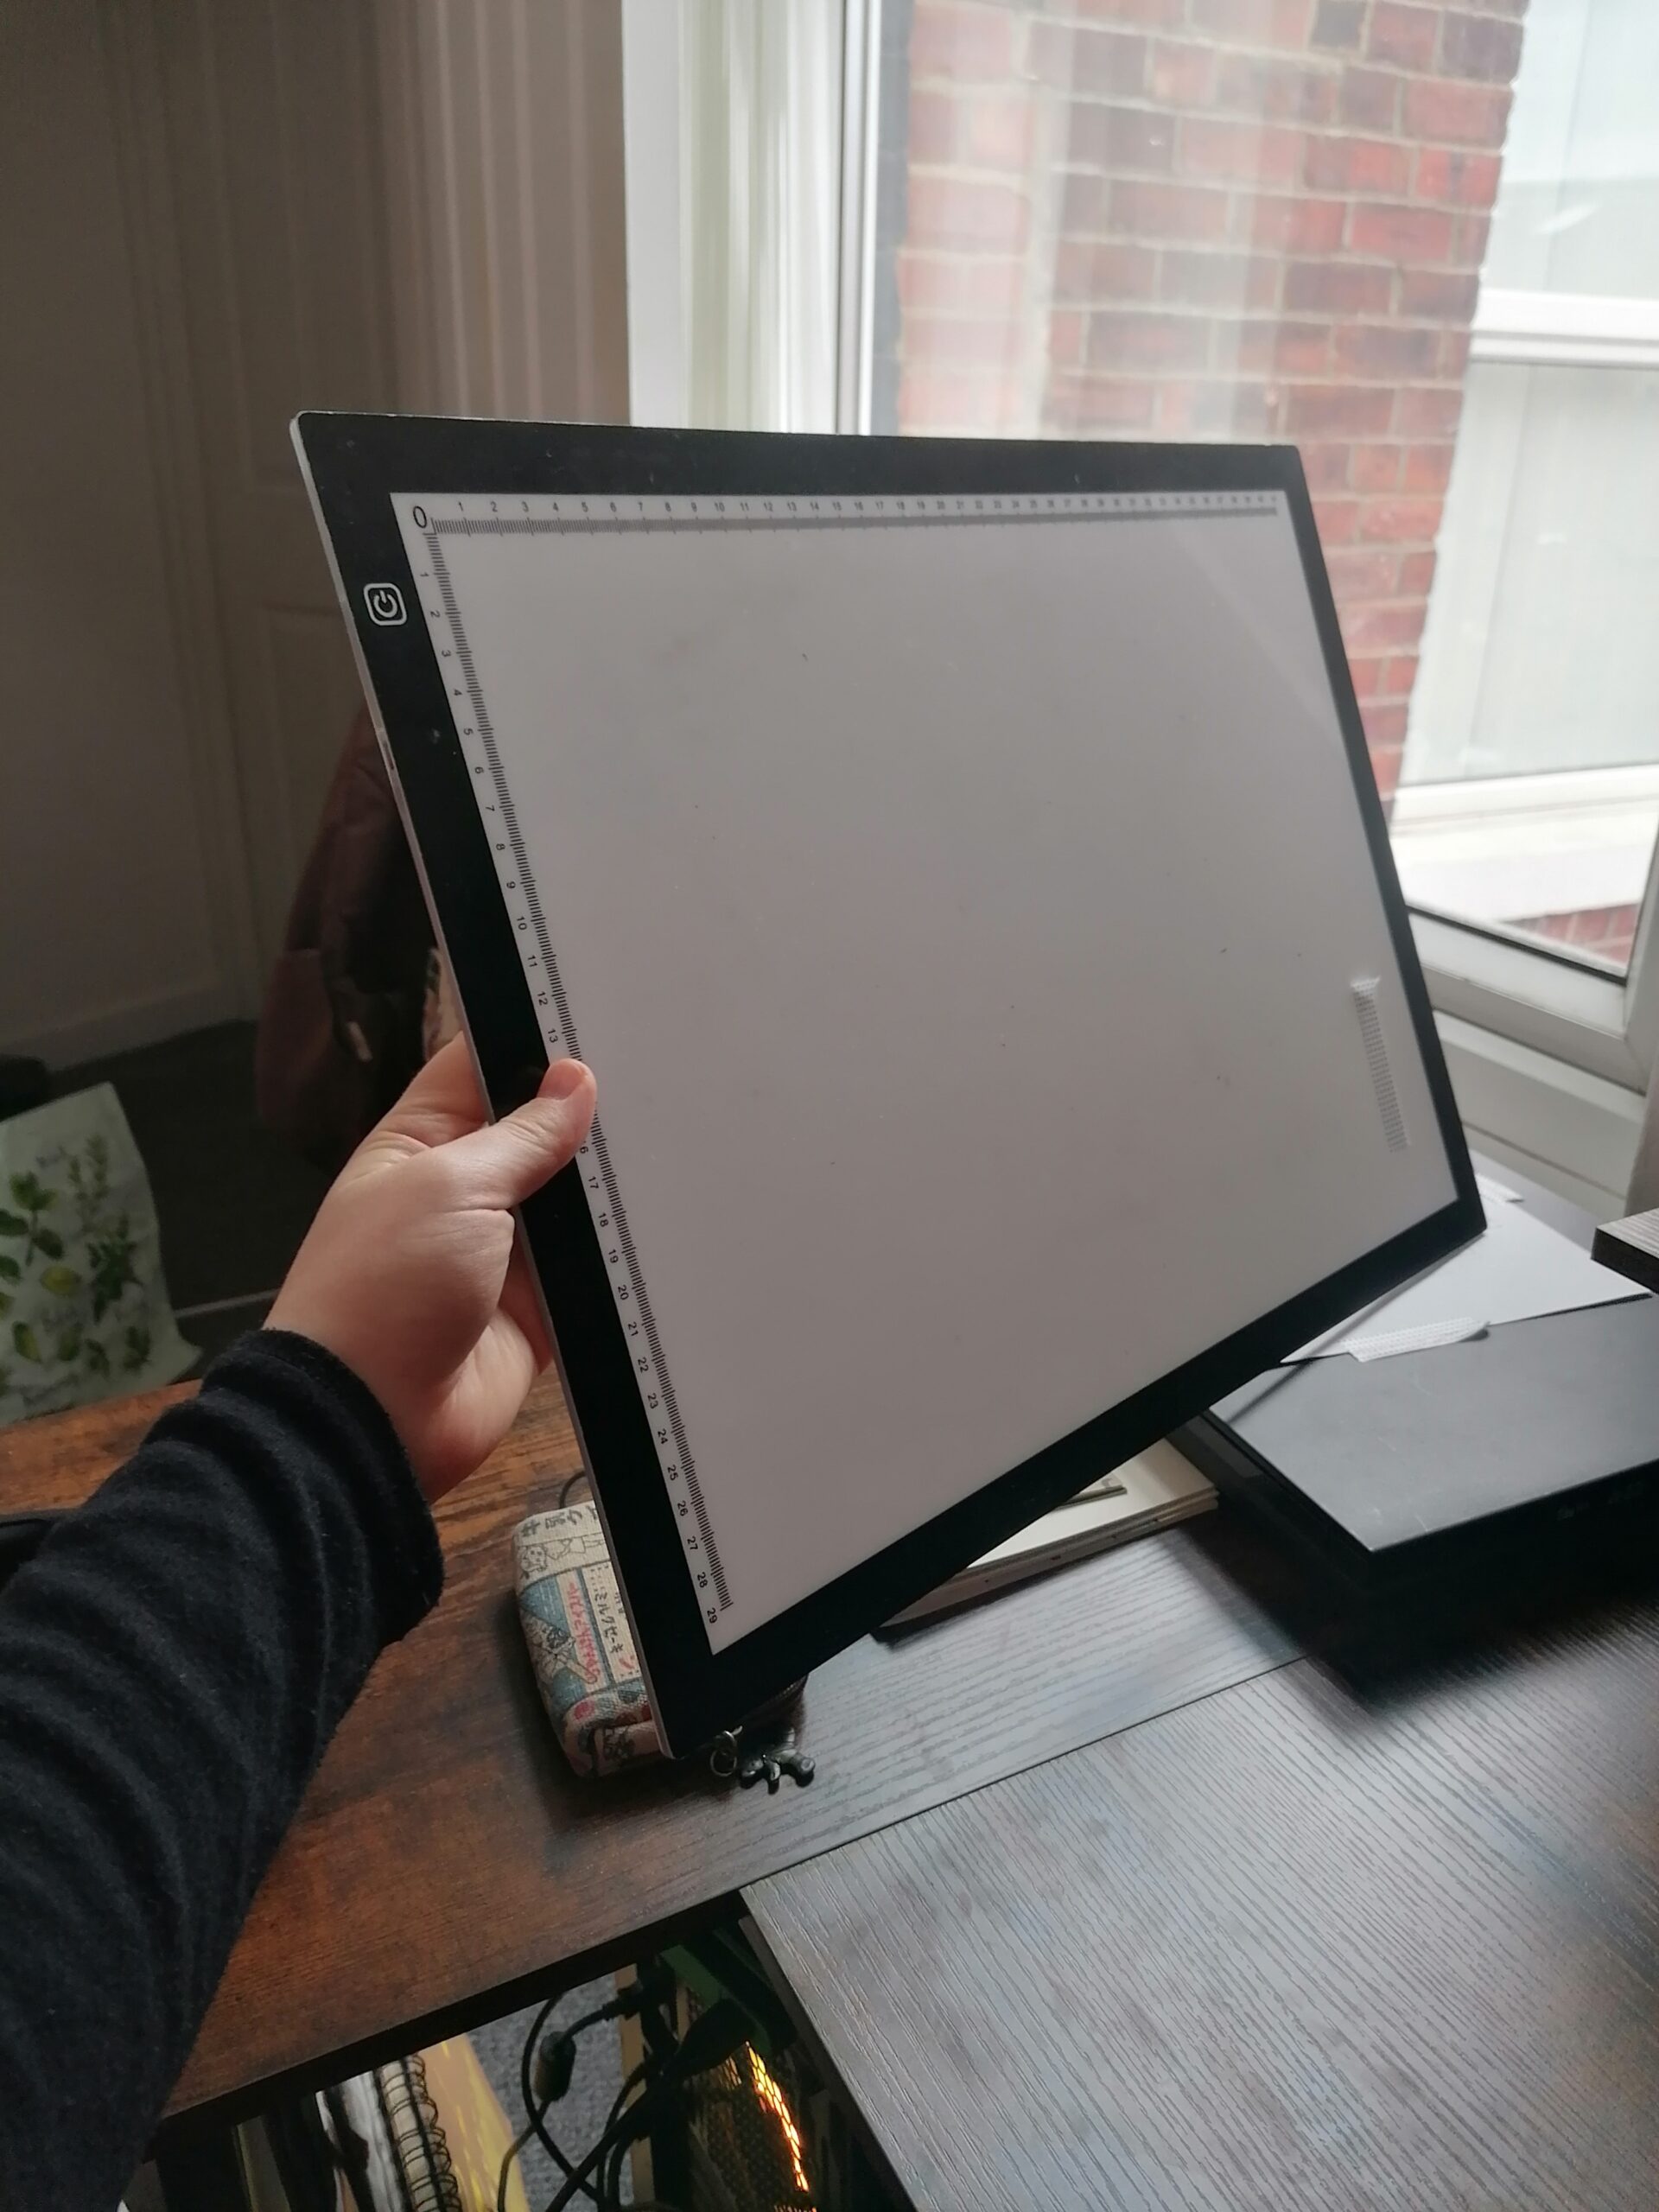
I had a template of four boxes that I’d trace over. I like ‘rustic’ looking boxes, so I didn’t mind too much that, in hand-drawing them every time, they’d inevitably be a bit rough around the literal edges. For tracing, I bought myself a slimline USB-powered lightbox a few years ago. It was a very sensible purchase! This one is A3, sometimes it’s a little bit iffy, like the power might cut out mysteriously (I think the connection port is just a bit too open or something), but generally it’s fantastic. I don’t remember it being super pricey – maybe £30 or so. A very useful tool to have. I use washi tape to secure different layers of paper while working. This material can be good as it’s less likely to rip your paper than normal tape.
Broadly, the process was as follows:
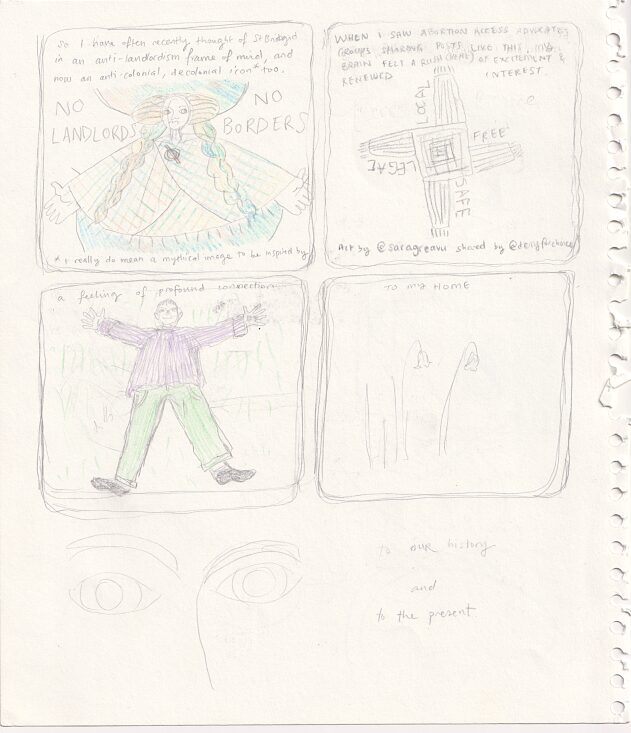
1.Draw a faint sketch of the page
1a). might be to draw that again as you’ve drawn it on the second side of a sheet of paper and you can’t trace over that when there are two different bloody pages staring back at you!
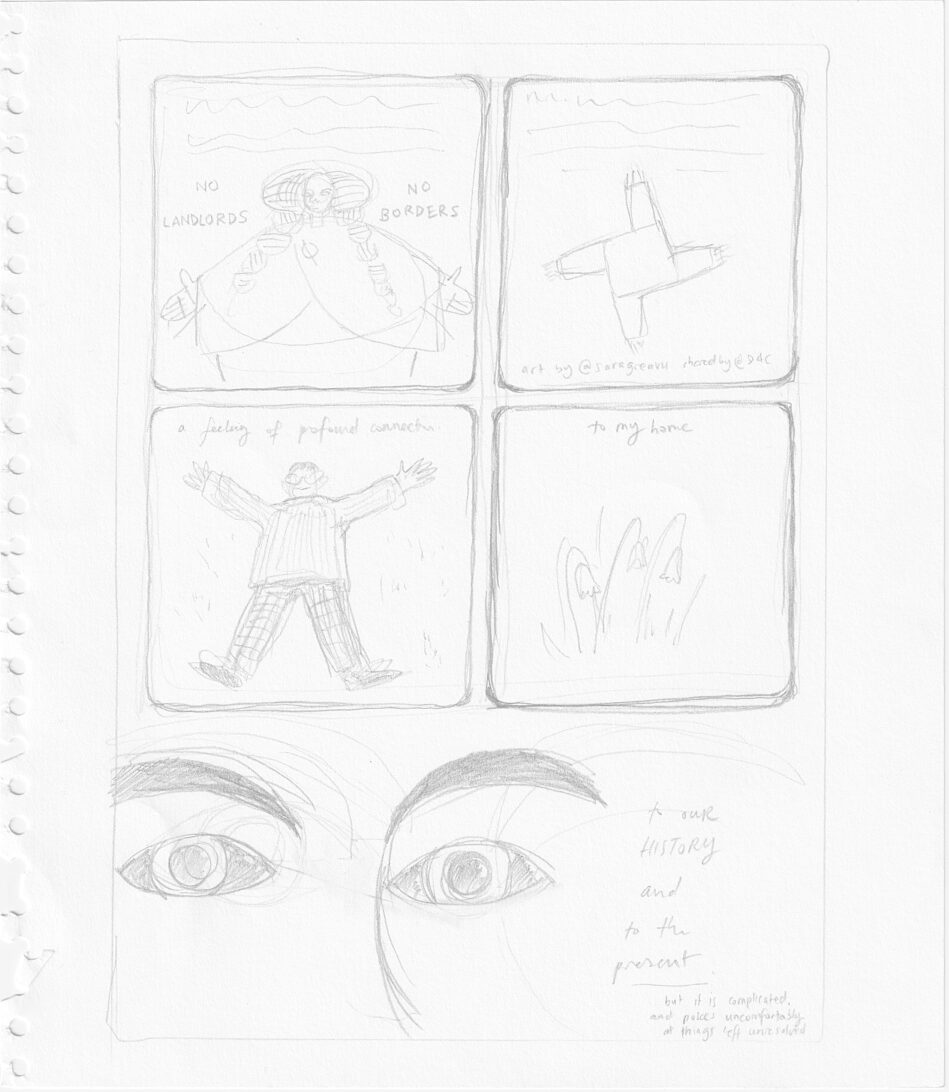
2. Trace this in a thick ish fineliner. I generally went for around 0.3mm. This doesn’t have to be a fancy fineliner either. This will help you see more clearly if (like me) your final paper is quite thick. It also clears up the rough pencil lines without you having to do any erasing.
3. Take the first sheet off the lightbox, tape down your fineliner drawing, and tape the nice textured paper over that. Start your final artwork, which in this case is pencils. This can be a bit confusing to describe when talking to other comics heads, because generally when you are referring to the ‘pencilling stage’ it’s still sketching, but in this case my ‘inking’ stage is still using pencils…
4. Scan this in! I scan at 600dpi cos I was to retain my pencil textures, but no longer am mad enough to scan stuff at 1200dpi as I don’t want to put my computer under unnecessary strain, or deal with the embarrassment that comes with someone eyeballing my file sizes…
5. Then I used photoshop to crop & straighten, and use Levels or Curves to whack the contrast up.
In hindsight, I can see that it was a bit mad to hand letter this for two reasons: I hadn’t fully decided on the words I wanted to be in the final comic, and I don’t really like planning, measuring or spending lots of time doing the things you need to do to get hand lettering right. However, I did get it done, I’ll just never do that again like that. Just mentioning this as sometimes I’d need to re-do text or write stuff on a completely different piece of paper and cut and paste that on there digitally. I know there’s nothing actually wrong with doing this, but it just felt like a ham-fisted way of writing.
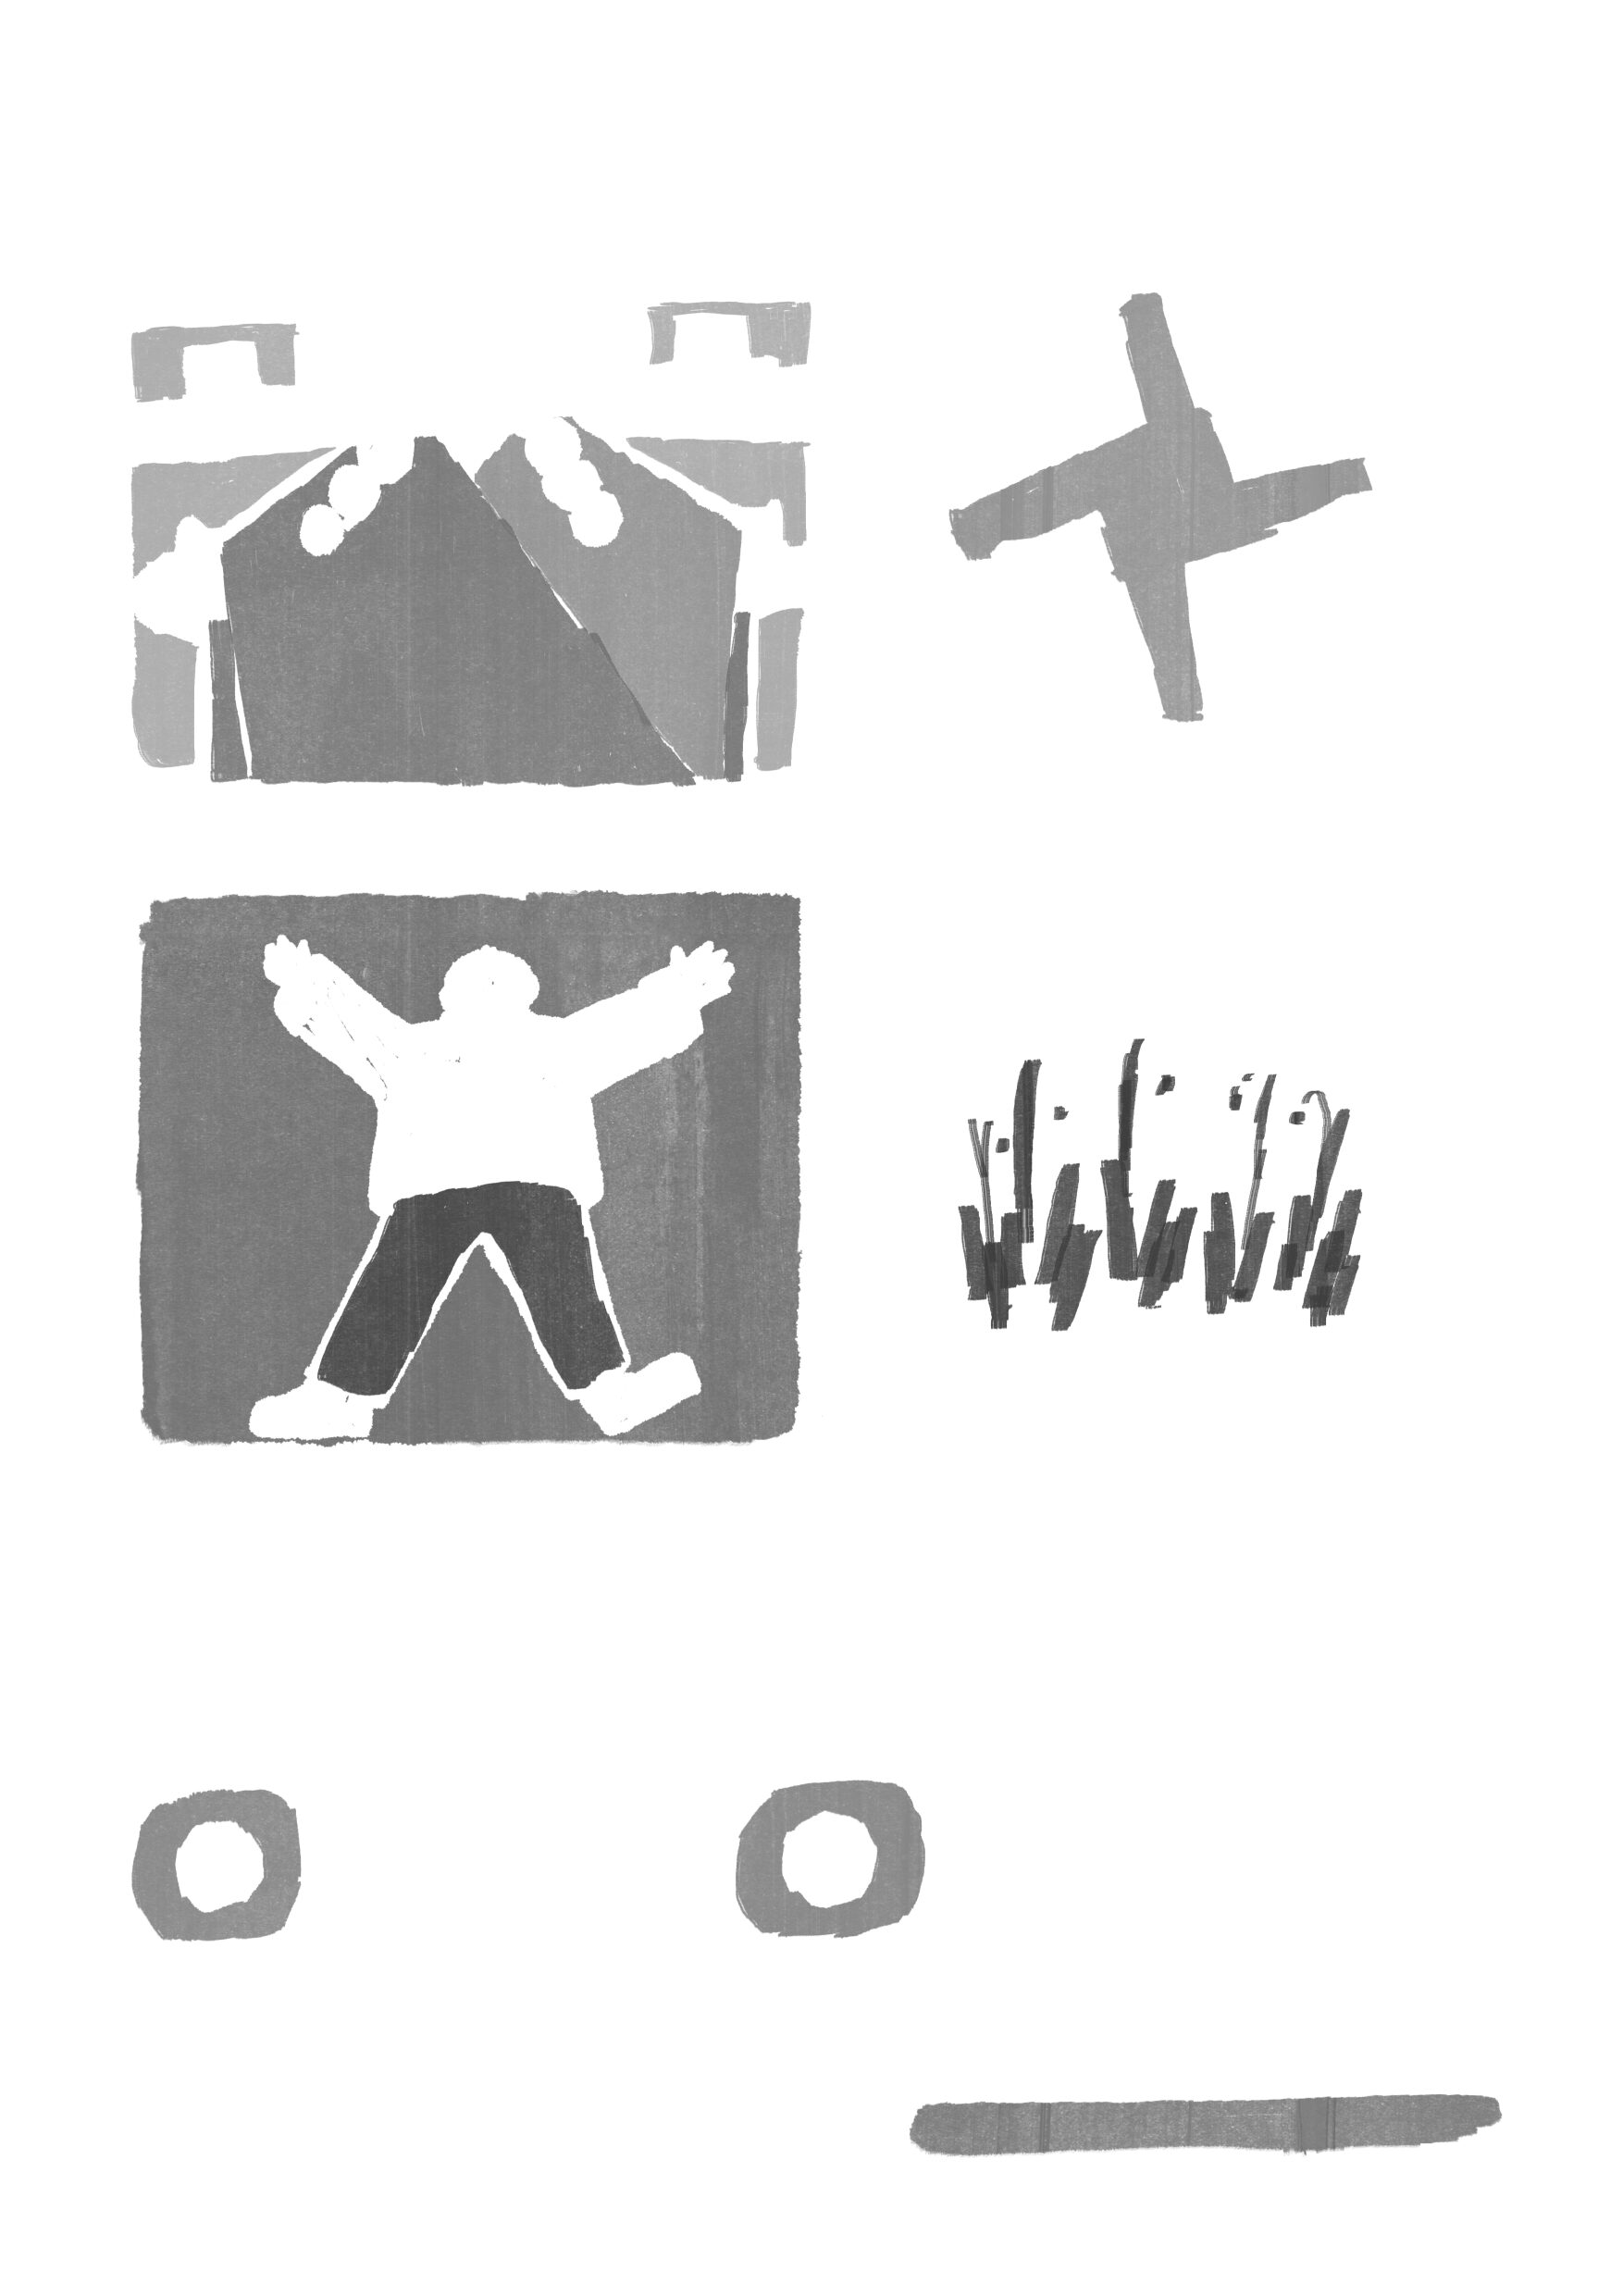
So what happened next was also a slightly mad way of approaching this. It was coming close to the weekend I had planned for printing the zine. If you don’t know it, Footprint is a riso printing place, and if you don’t know what that is there is an attempt at explaining it on this page of the website (I made this which is why I’m being a bit catty calling it an ‘attempt’). I was planning on simply making a black and white comic – I needed to start somewhere and no way was I going to launch into full colour! But a last minute thought came over me, and I decided to have a go at making a second layer, to be printed with green ink.
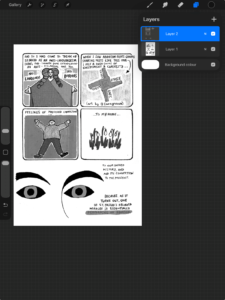
6. I have an iPad, and on there I have Procreate. I imported my finalised B&W pages to the iPad, and made a new layer over each one, and guessed at what grey value I thought would work well for each page. With riso printing, the machine will read the artwork in greyscale anyway, and I didn’t have the time or the inclination to try to figure out how to digitally colour this in green, in order to then convert to greyscale. That truly would be mad / not the way my mind wants to work.
7. Export the grey layer. I haven’t mentioned at any point file formatting. I don’t know if what I did was wise, but what I did was scan them as PNG at 600dpi. The final file size for each page (of the pencil artwork) was generally around 6-8MB, the dimensions are 3508 x 4961 pixels, with resolution 600dpi. I placed these files into InDesign to create a multi-page PDF. My dimensions decision was made for me by my choice of riso printing. I almost knew by heart the dimensions of a slightly-smaller-than-A5 full bleed riso booklet from our templates at Footprint, so that is what I worked to.
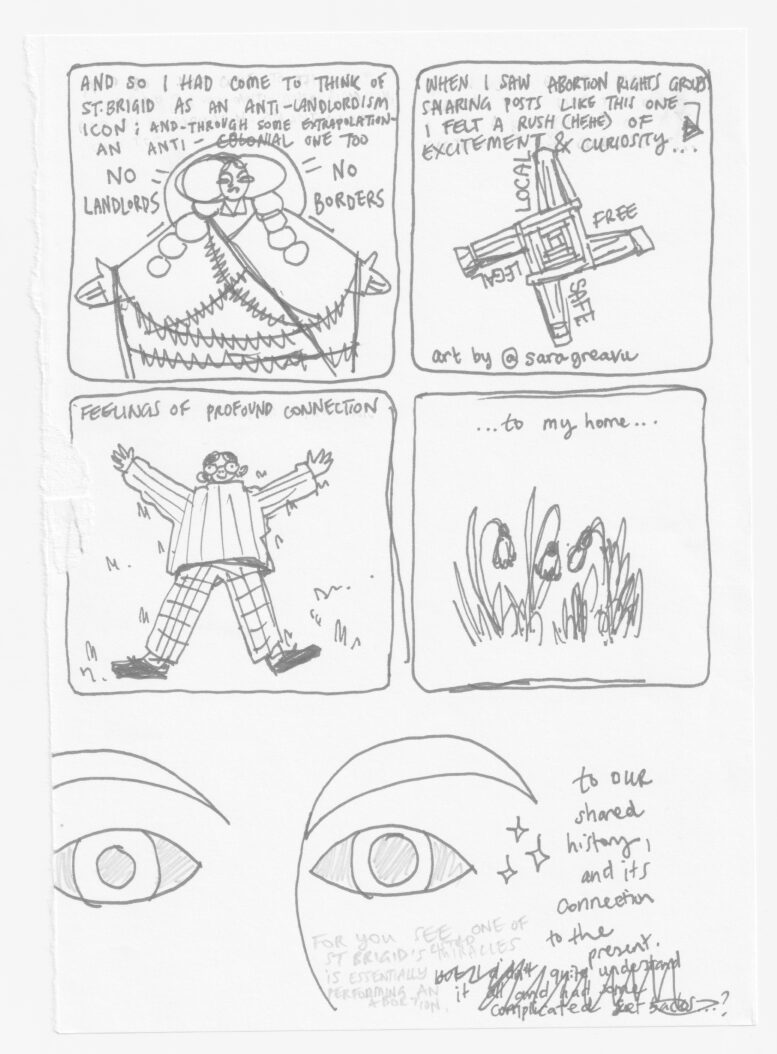
8. Then I printed them and the gamble of two colour worked out beautifully! This is black and green riso ink on Evercolour Ivory 80gsm, which is a nice creamy paper stock. Again, I made a last minute punt on the cover (which I could have done a bit nicer), but last minute I decided to give St Brigid a metallic gold gleam to her eye. This was simply drawn straight onto the InDesign where I’d laid it out to print – a simple digital ring shape and the words ‘Part 1’. It’s alright! I’m a huge fan of this paper, EcoKraft 170gsm, though it can be a real nightmare to print on and feed through the booklet maker.
I think that is a fair description of my process. I hope it is helpful to someone out there also wanting to make art and unsure of what to do. I’m not saying anyone should follow my steps – but if it can help anyone else on their journey to making more art, I’ll be happy! Thanks for reading!